Facebook has 2.79 billion users globally, and 2\3 of them visit local shops at least once a week. So, why don’t you use this excellent opportunity? Leading the e-commerce business has never been simpler. You can set a business page in a few clicks and then create a shop on Facebook to bring your products to the target audience. The great thing about it is that you don’t need the actual website to sell goods. Social media has empowered small businesses to spend less effort and resources on selling and getting money faster and easier.
Before jumping to the actual steps, let’s first answer a question as to what a Facebook store is and why you should use one. Facebook Store is a specific online page with the roll-out of your products through which you can reach a broader customer base and allow them to make a purchase. It is also referred to as a Facebook Shop, so don’t get confused, as it’s literally the same thing.
Opening a Facebook shop, you’ll need a graphic design tool to create pictures for your products. Try PromoRepublic, and it will surprise you with the combination of content creation and social media management features.
Creating a shop on Facebook has many advantages for self-starters. You don’t need the actual website to sell goods. But if you have one, Facebook helps you generate more traffic and grow your customer base. The typical way to use a Facebook shop is to link to the website where the buyer will finish the purchase, but some retailers allow you to buy directly from Facebook.
The key point is that Facebook’s Shop tab is free for all users, and you can set it up in less than 15 minutes. Moreover, once you have a Facebook shop set up, you’ll be able to start tagging any of your products featured in your images. This ensures that everyone who views your posts will become aware of the products you have available.
How to Sell on Facebook Business Page
Selling products through Facebook business pages is easy and fast. Generally, there are two ways to do it:
A primary way is to create a Facebook Store with product listings and connect payments directly to the platform’s cart. It means your users won’t need to go outside of Facebook to buy a product, and you won’t need to use external platforms.
Or, you can use an e-commerce website, like Shopify, and create a web store there. Thus, you’ll be able to link the products on Shopify to your Facebook Store page.
How to Create a Facebook Shop
Creating a Facebook shop isn’t the most difficult task. On the contrary, it’s pretty easy. All you need is:
A Facebook account
A Facebook business page
Apart from the two requirements, your Facebook page must also adhere to the following:
Sell physical items – this means there’s no way to sell digital or downloadable products from your Facebook Shop page
Have a tax identification number (US-based stores)
1. Add a Shop section to your page
To add a Shop section to your Facebook business page, go to your Facebook business page > Settings > Templates and tabs > Add a Tab > Shop (Click “Add Tab”). Once you’ve added the tab, click “Settings” (of the tab) and ensure the tab is turned on.
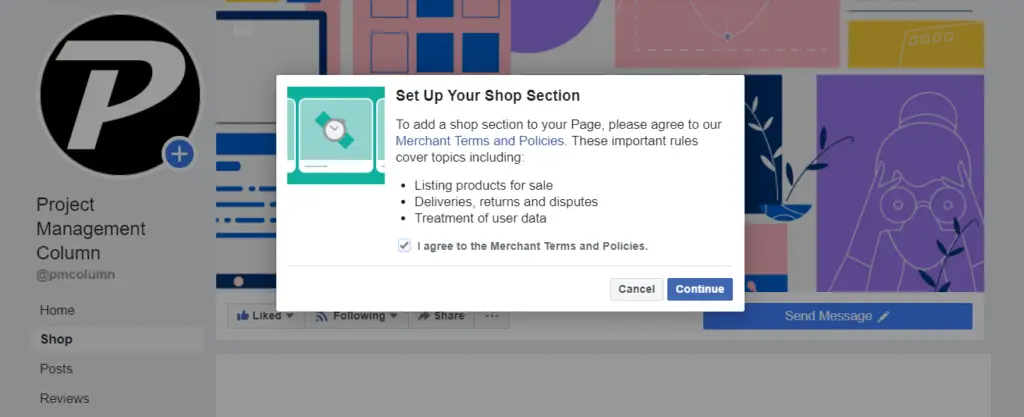
2. Agree to Facebook’s Merchant Terms and Policies
Facebook’s Merchant Terms and Policies will appear after you click the Add Shop Section button. Don’t forget to read them carefully before agreeing. They might include useful information about what you’re allowed to sell on Facebook and how you should solve any problems that appear with return and refund policies, for example.
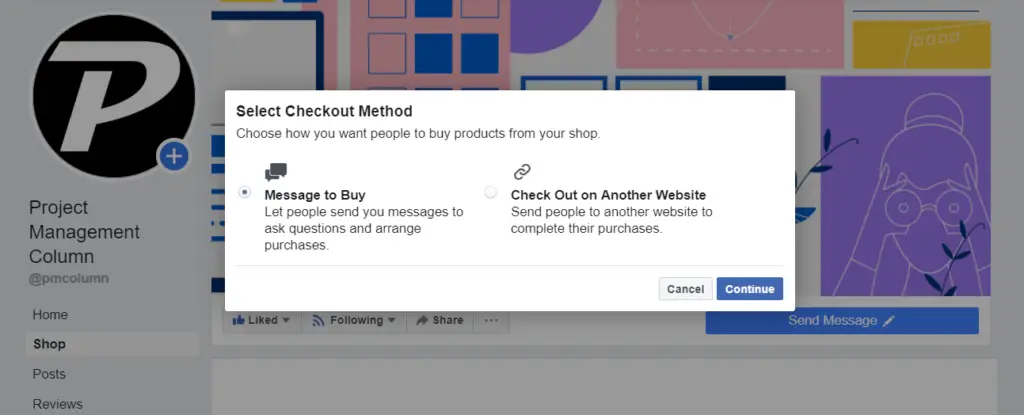
3. Select Checkout Method
Once you agree to the terms and policies, you can select the type of checkout you prefer. In other words, choose your payment method when opening a Facebook shop. Generally, there are two checkout methods on Facebook – Message to Buy and Check Out on Another Website. Message to Buy means that a buyer will be able to purchase the product by sending you a message. The other option allows you to send people to other e-commerce websites, from where they will complete their purchases.
Choosing the second method means that you’ll have to add a URL to Shopify, or another e-commerce website when adding a product and filling in the underlying form.
4. Choose the Currency for Your Shop and Hit Save
Have you decided on the payment method? It’s time to choose a currency that will appear on the product description after you add it completely.
IMPORTANT: If you chose the wrong currency or want to change the checkout method, you need to delete your shop and create it up again. All the goods and services added to the shop will be deleted too. To delete your shop, click on the Shop Tab and find gear icon in the right up corner and choose Delete.
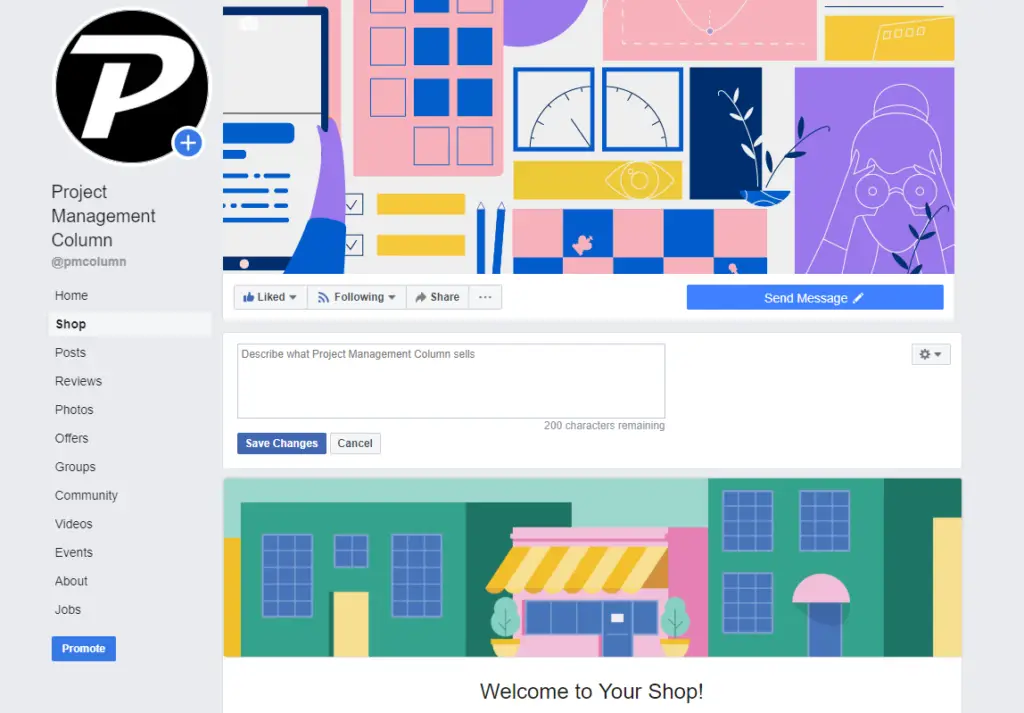
5. Describe What You’re Going to Sell
Congratulations! Now you can fill in some general information about the products you’re selling and add them to the shop. A little box will appear, where you can describe what you’re going to sell, in 200 characters.
6. Start Adding Products to Your Shop
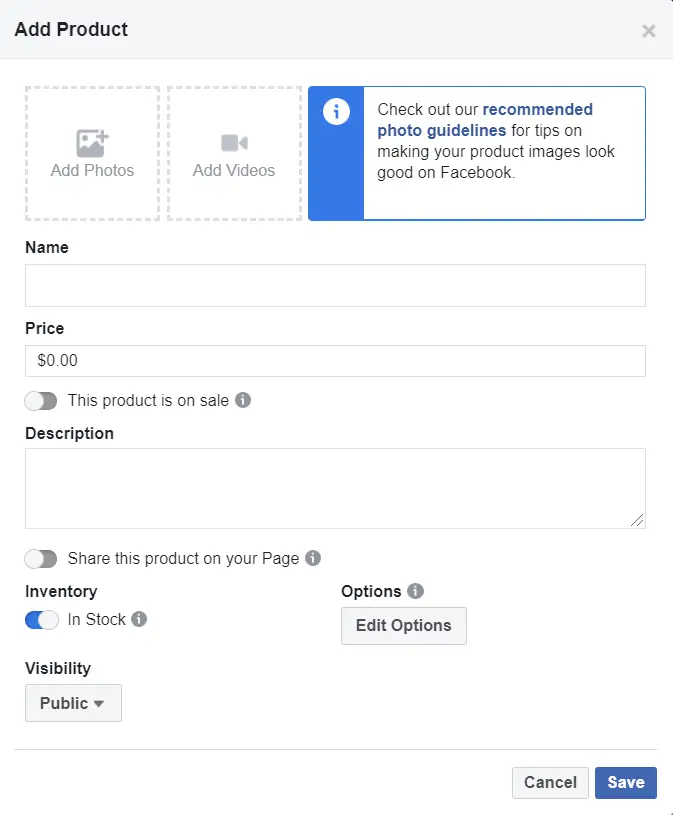
After you’ve added a little description of what you’re going to sell, you can add your first product. This is doable only from your computer and you can only sell physical products, according to Facebook guidelines. The box you’ll see will look like this (in case you’ve chosen Message to Buy as your checkout method). You’ll see completely intuitive and user-oriented on-screen instructions. The form requires adding a photo, name, price, description, and visibility of your product. Also, there are some other toggles you can play with.
But here are some rules and best practices to complete your Facebook online store. You won’t be able to publish a product without adding at least one photo. Please note that customers will be happy to see more than one. The best dimension for a photo would be a square image of 1024 x 1024 pixels, according to Facebook’s recommended photo guidelines. You can set the right size and create your product picture in PromoRepublic’s Editor:
It’s also possible to add a video of your product.
Let’s see what you can do next.
Clearly, put down the name of your product.
Fill in the price. You can mention only one price, but if you decide to choose “This product is on sale,” you can change it. This way, your clients will see how much they save.
Describe your product or tell about its advantages in short sentences, preferably with bullet points. Avoid company-specific information. Don’t use URLs or emojis, both will be broken in the description. According to Facebook, the descriptions cannot contain phone numbers, email addresses, long titles, excessive punctuation, all letters capitalized or in lowercase, book or movie spoilers, or external links.
In Edit Options, you can add options describing the size and color of your product.
There, you can also choose your shipping information and policy.
After you click the Save button, Facebook begins to Process your product. It may take up to 24 hours to review if it complies with Facebook policies.
Share the product on your page. When you have created a product, you can publish an announcement telling people what’s new in your shop. If you add many products, it’s better not to share them on the page all at once. You will be able to do this later.
7. Add Collections
If you want to sell many products of different types, Facebook allows you to create collections with them. Categorized collections make navigation easier for buyers and improve the shopping experience. This feature becomes visible when you’ve already added some products. The next thing you’ll have to is to create create a name for your collection, add products, and choose “Feature this Collection” to make it stand out in your shop. Nordgreen, a Danish brand of watches, for example, has collections of women’s and men’s watches separated on their Facebook online store. Check it out:
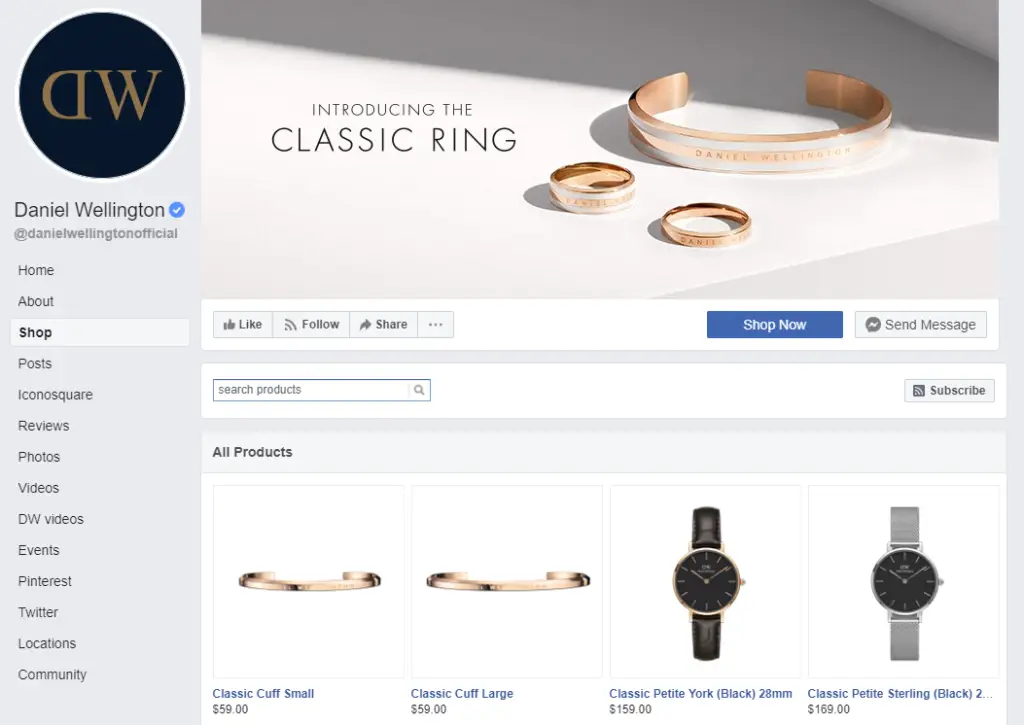
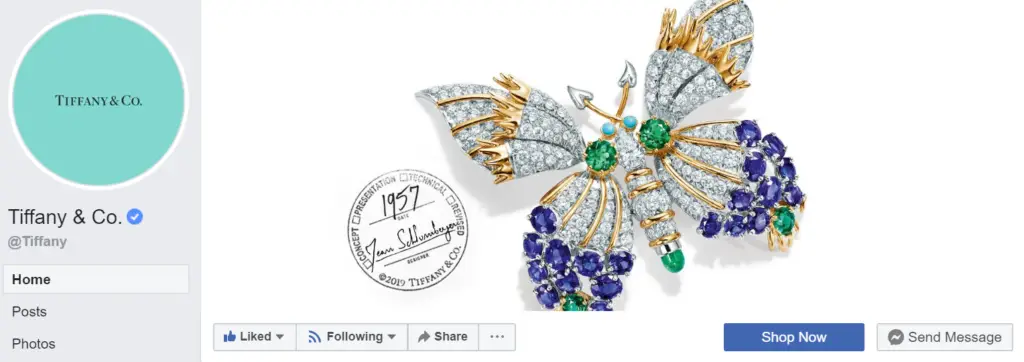
8. Change the CTA Button
Facebook does a lot of things automatically and setting your CTA is no exception. It creates your call to action button on the right corner under your background image that leads to the shop on your page. Famous brands like Tiffany & Co. use a simple message in their CTAs: Shop Now. However, when you’ve set up a store on Facebook, you can easily change the CTA button and even link your website to it. It’s up to you!
9. Promote your Shop
You are fabulous. Your shop is ready. Now it’s time to get people to know about your shop and products.
How to Promote a Facebook Shop
Adding your shop to a Facebook page isn’t enough. Don’t forget to tell the world about it to streamline purchases. In general, there are three possible ways to spread the word about your intention to sell goods or services. You can share the entire shop, separate products, and even collections.
To share your shop on Facebook, choose “Share your shop” on the right top corner, add some text, and voila! If you run several pages or groups and think other followers will be interested in your goods – choose different pages and post on them as well. This post’s link will be active. Your clients will be redirected either to your Facebook shop, or real one when they tap on a visual. Every time when you have special offers, new arrivals, or sales – share your shop with clients. Here’s an example:
You can also share a specific product, but to do it, you’ll need to tag it in your post. Select the last item under the text box and type your product’s name or ID. It’s as simple as that!
Don’t forget that collections are also shareable in the Facebook shop section. They’ll appear nicely in the form of a Carrousel when shared.
It’s all set. If you want to create a better shopping experience by letting fans and followers purchase directly on your page, you will need to use third-party applications to integrate payment methods. If you are located in the US, you can do this on your own, but you will need to update your goods on your own, as well.
Get curated insights, trends, and stories from franchise and multi-location brands — straight to your inbox.
You’re all set!
You’ve successfully subscribed.
You’ll now receive curated insights, trends, and stories from franchise and multi-location brands directly to your inbox.
Choose what describes your business best:
What do I choose?
Enterprise: for multi-location and direct selling brands. Manage thousands of social media pages of your local distributors, partners, or franchisees.
Agency: for marketing agencies. Manage all your clients’ social media pages on one platform.
 Platform OverviewOne command center for local marketing performance